Hello all,
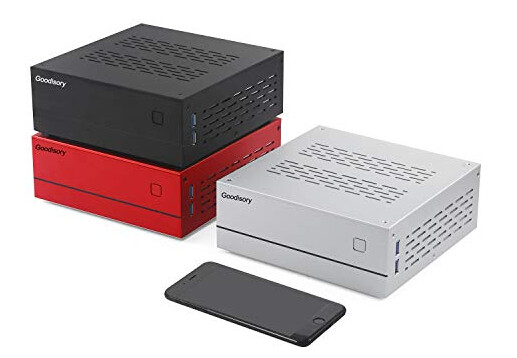
Presenting my latest custom endpoint build. With this build I attempted to go compact. Most of my other builds have been much larger - mainly to accommodate more hardware. I was trying to achieve the goal of creating a roon endpoint that was small enough for a non-critical listening area, yet still had a great sounding DAC, coupled with a very small SBC. The streamer needed to have access to a wired ethernet port, look classy(not too much like a computer case. :), and diminutive in size. For the casing, I chose the Goodisory, A01 SFF ITX computer case. More detailed information can be found here on the case specs.
Hardware Used:
o Khadas VIM3 single board computer (SBC)
o Khadas Tone Board 1
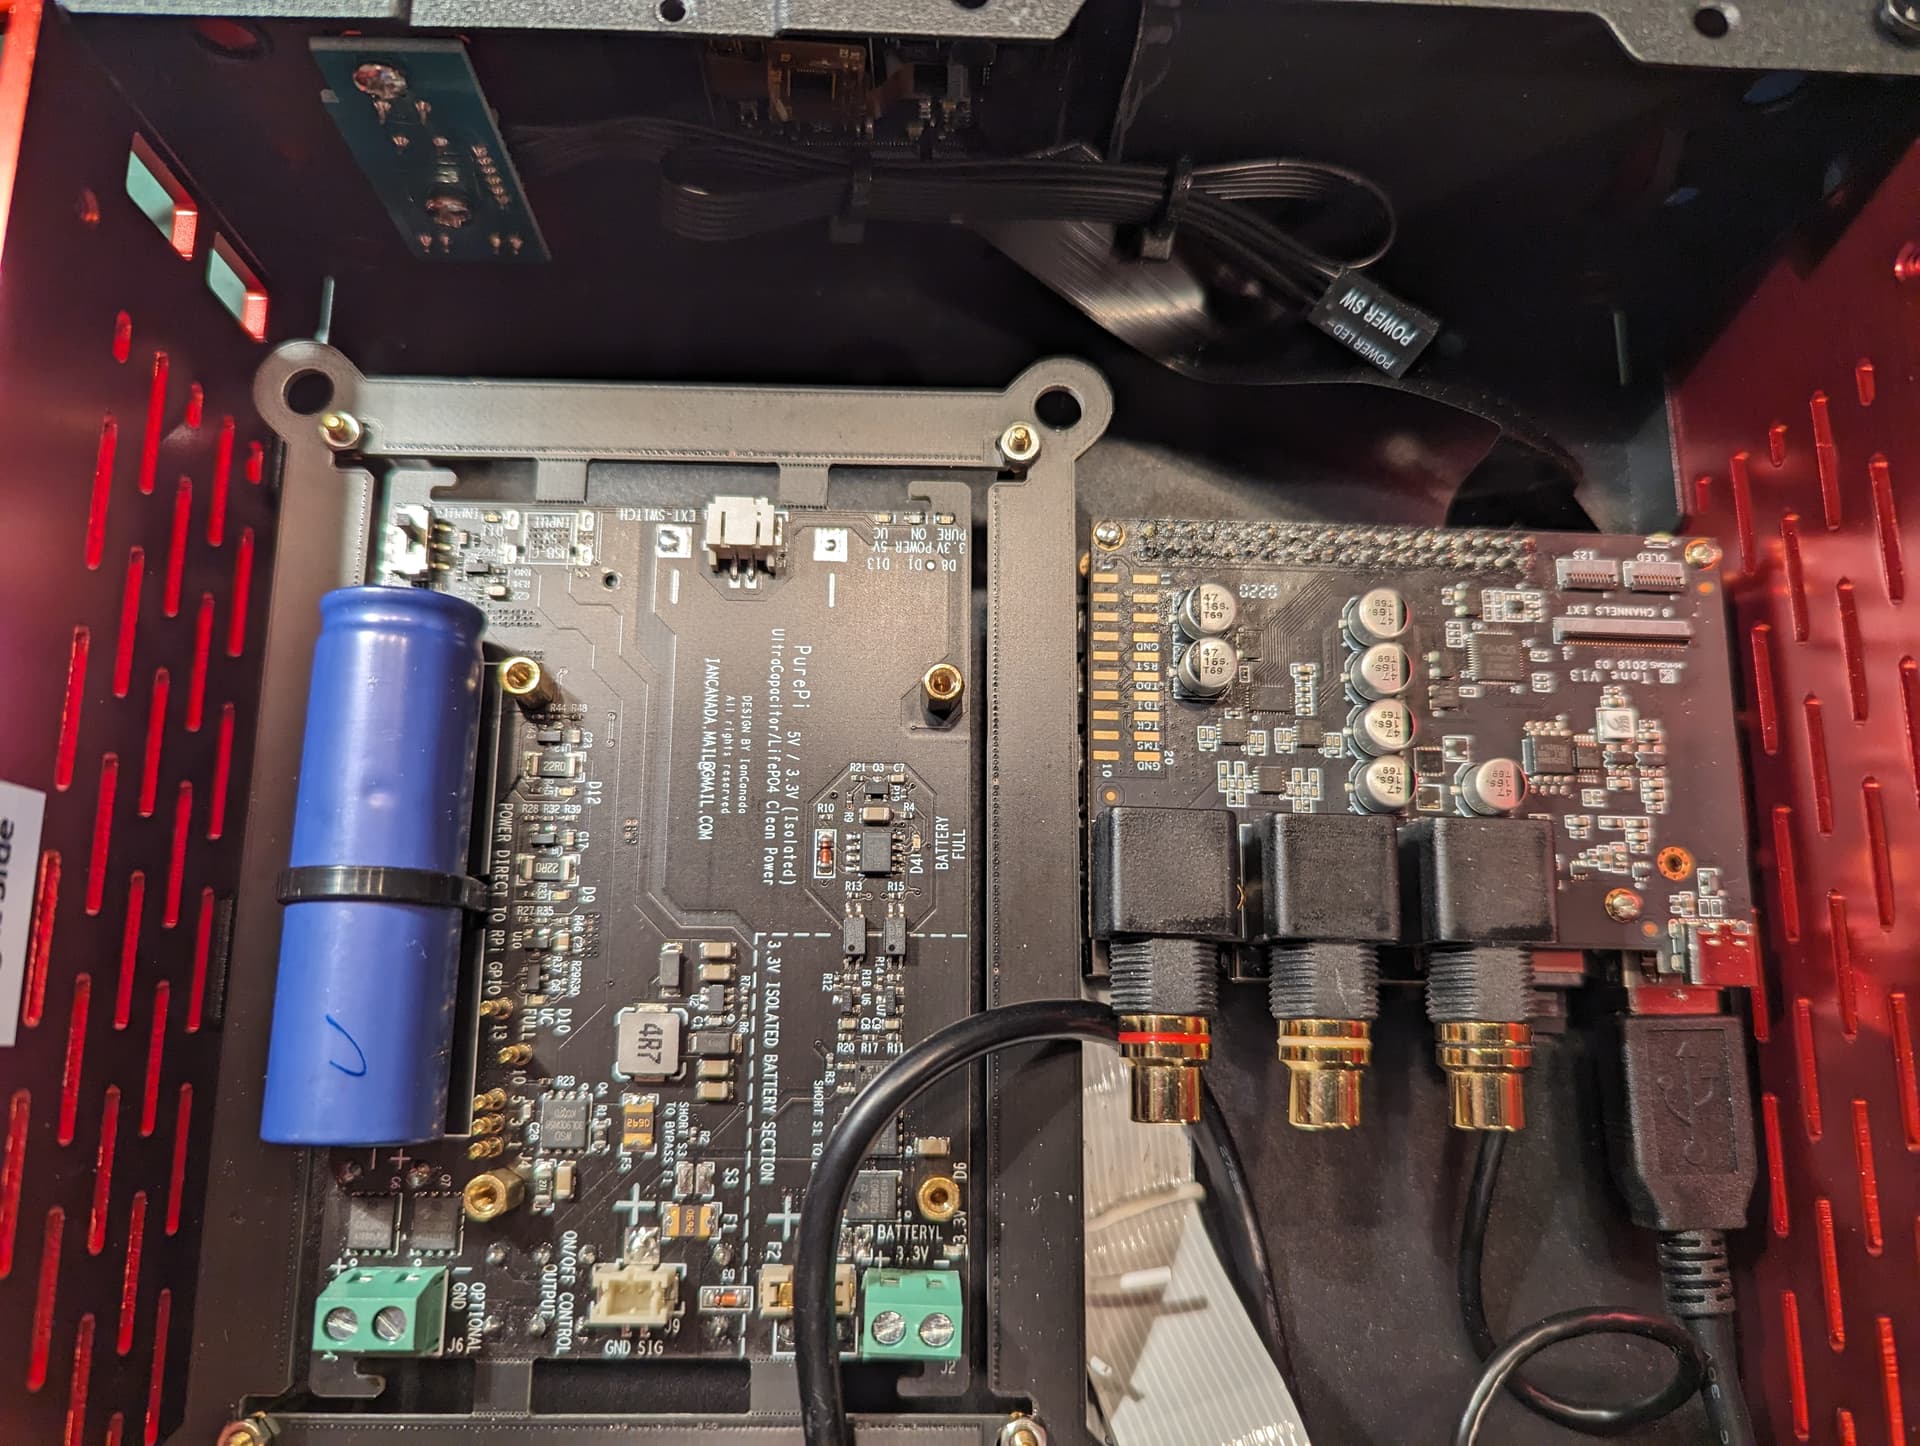
o IanCanada PurePi PSU with UltraCap Conditioning
o Khadas 5" TS050 Touch LCD Panel
o External Audio Grade 5V Power Brick
o Misc, Rear Panel I/O Jacks and Switch
o 1 Custom, 3D Printed 4mm Back Panel
Software:
o Unbuntu 20.04 VIM3 image
o roonbridge client software
o roon extensions
o Roon Web Controller (v.1) Member Mike Plugge for this great roon extension.
Build:
What made this project interesting, was a departure from my usual approach. Usually, I have some vision in my head of what I want to create - for myself, and what other users may find interesting. It all started with the touch screen - literally. I had the VIM3, the screen and the Ubuntu release. Months ago, I had finally gotten both to play nice together, AND with the screen working in landscape mode. And, furthermore, I had forgotten what I had done to get it all working, so just went with it. This was my first build using a small screen, and this fit the bill perfectly, outstanding hi-res resolution (1920x1080), and large enough to see with a near-field listening environment. Of all the screens I have played with for the RPi and other SBCs, this was the smallest 5", touch screen in form-factor, and fit the A01 case nicely.
I had moding to do, both to the red aluminum front panel, and to the steel case frame. I had the red panel milled by Front Panel Express(FPE), and using my Dremel I cut a hole for the small PCB, and ribbon cable attached to the back of the LCD, to come through the case.
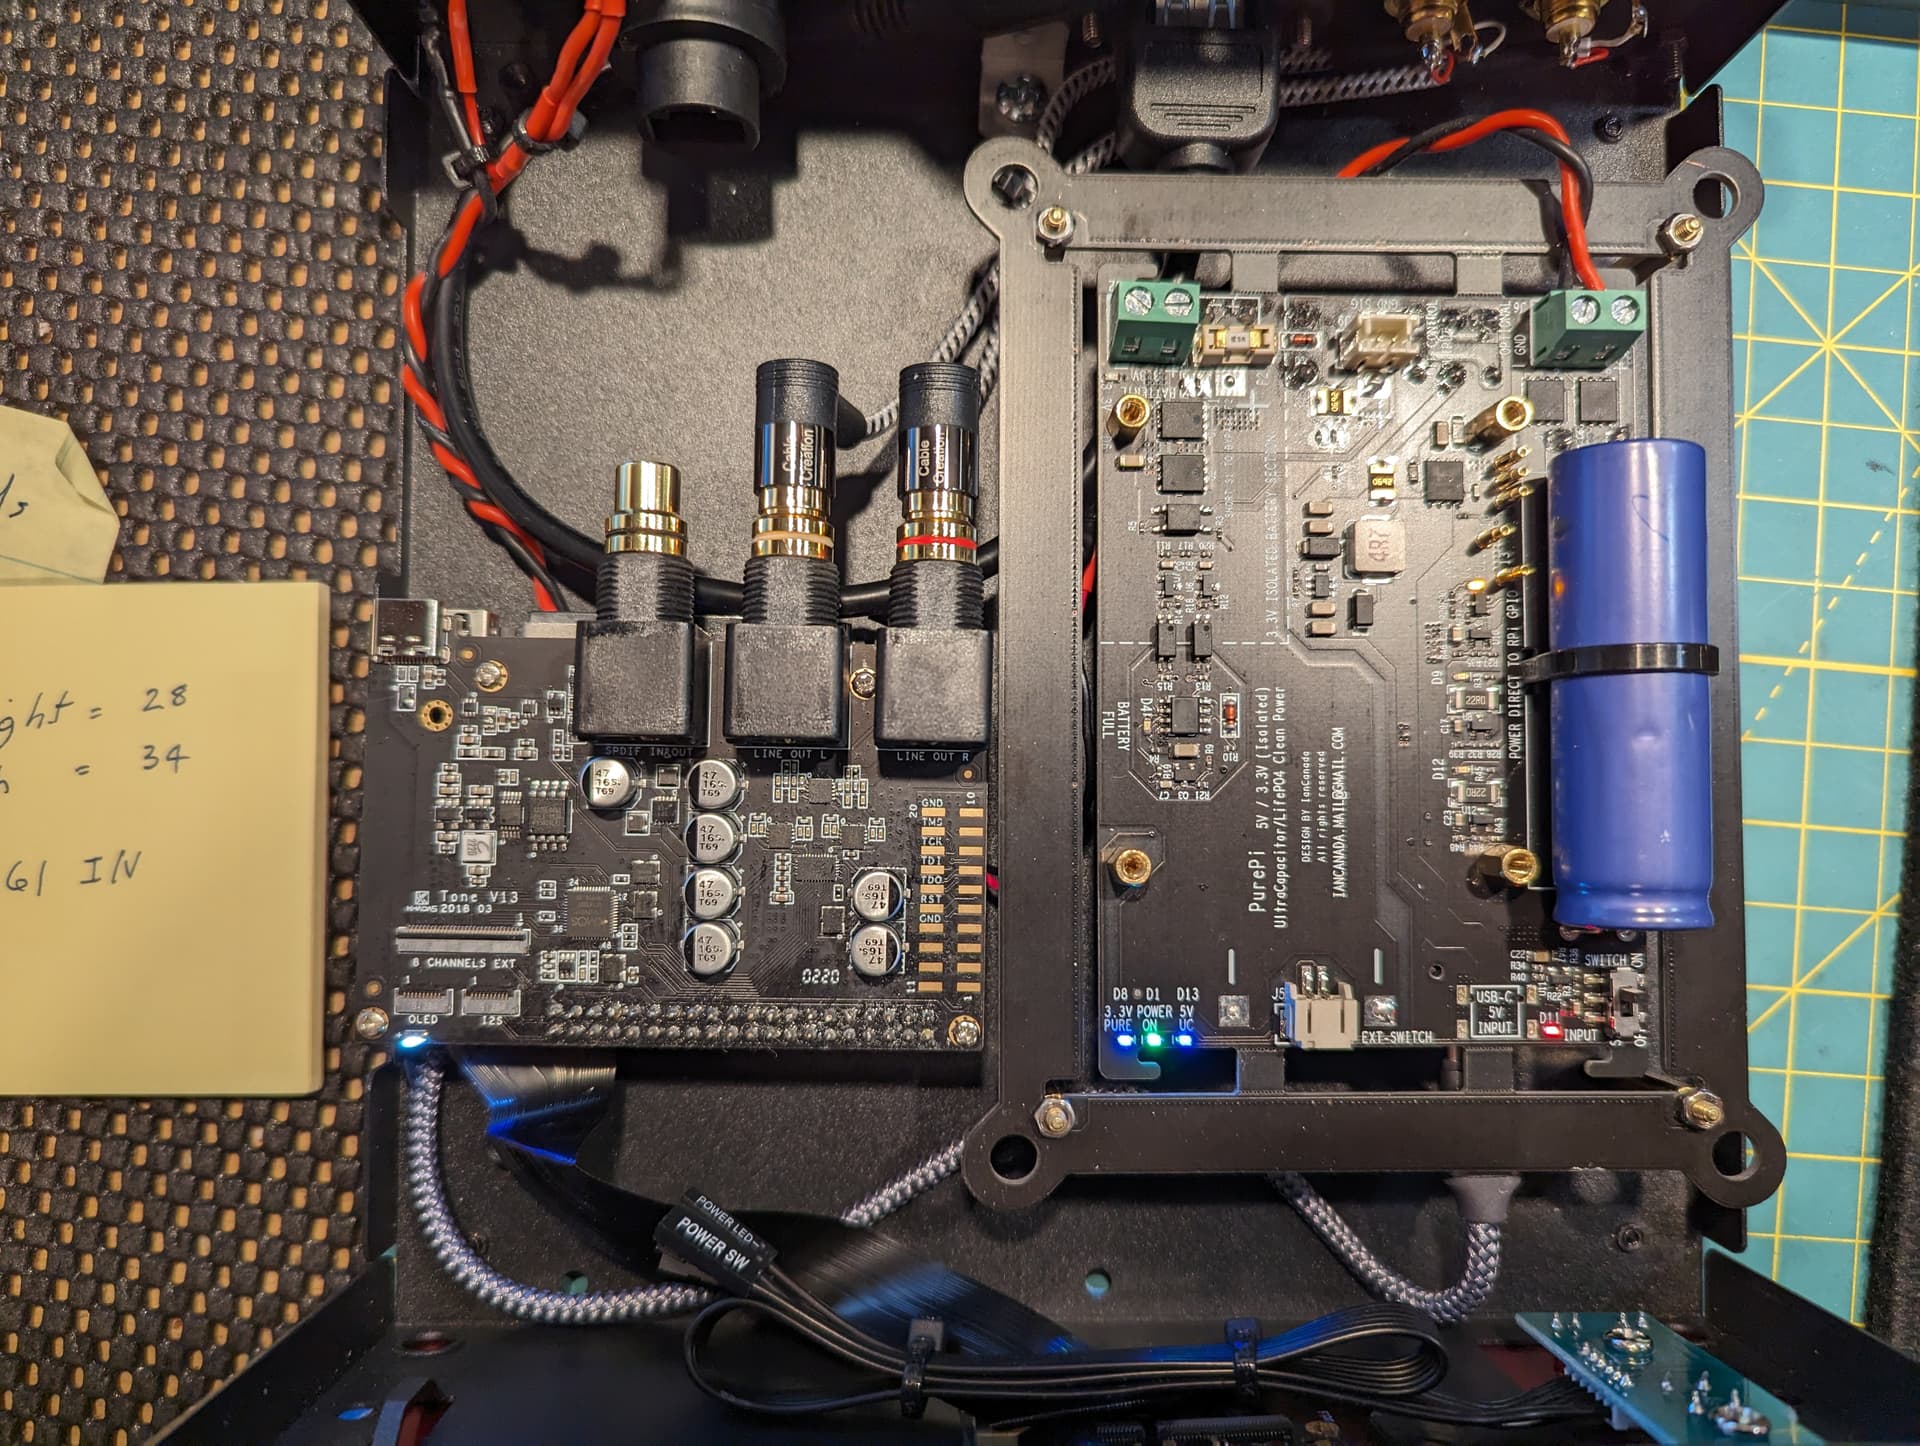
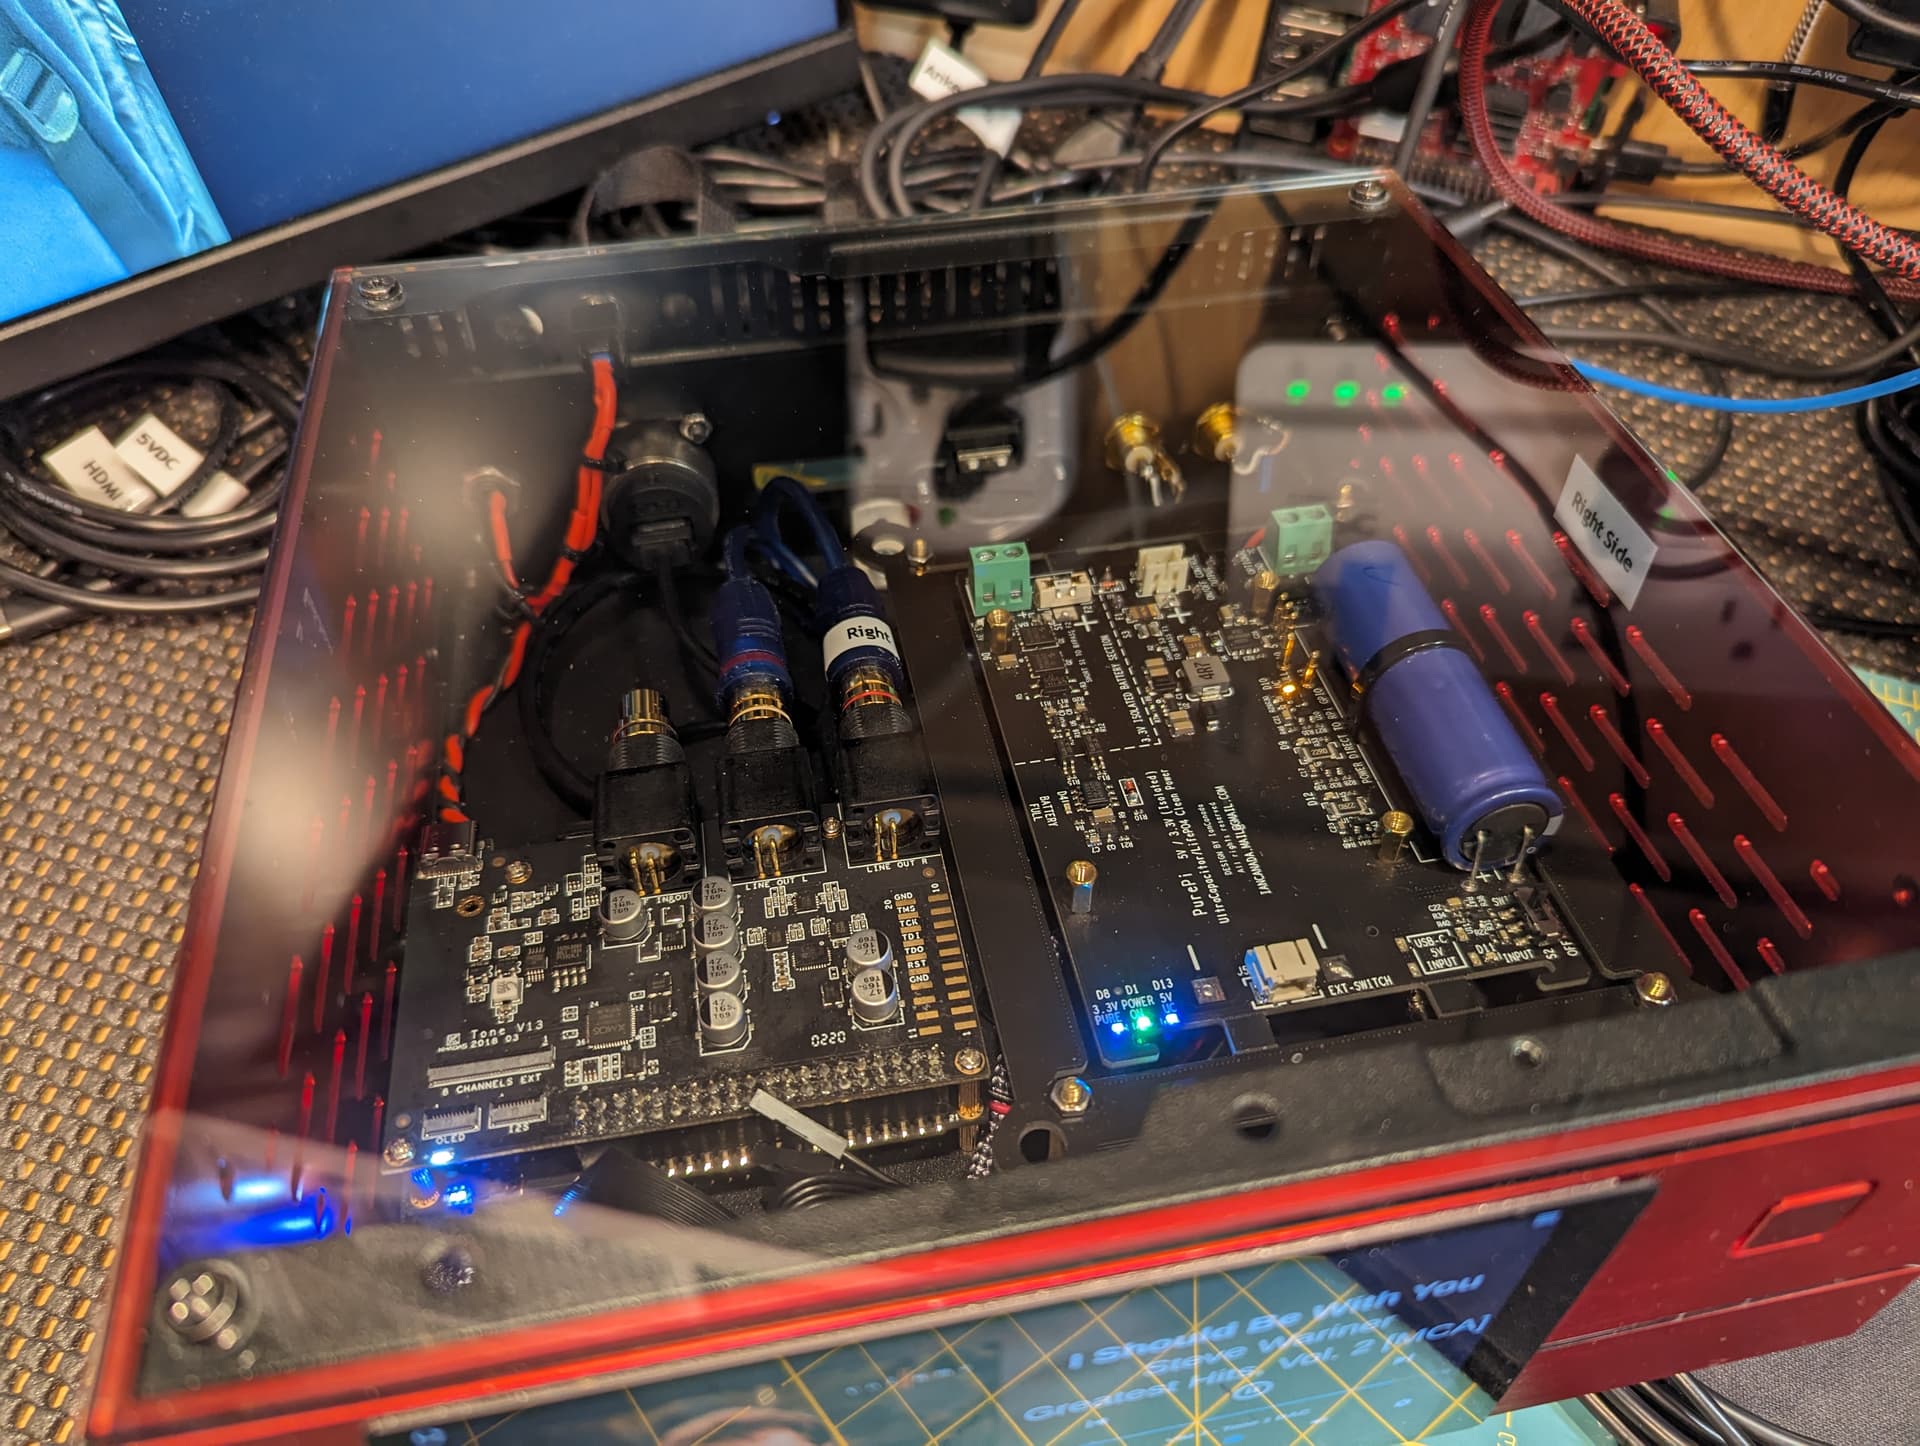
For this build, I also decided to pair the VIM3 with the Tone Board 1 (TB1). While the TB1 is now an aging DAC by today’s standards, it has very, very good specs, and still sounds great. The TB1 can still be found for less than $100. In addition, the TB1 mates perfectly with the VIM3’s 40-pin GPIO connector. This was perfect for an I2S connection with the outside digital world.
To help with conditioning of the 5V coming from the external power brick, I chose to use the PurePi battery, and ultracap PSU by IanCanada. This model provides both LifePO4 batteries for 3.3V, and Ultracaps to condition the 5V going to the VIM3. For now, I’m only using the Ultracap portion until I upgrade to the FifoMA and another DAC HaT. In fact, the PurePi is an interesting platform for a minimalist system, as the RPi is intended to seat on the PurePi, where push-pins make contact with the power pins on the back side of the RPi. In my case, I’m just using the conditioned 5V to power the VIM and DAC - because that’s what I had on hand. IanCanada also offers a 5V only version for the RPi, called UcPi.
Software:
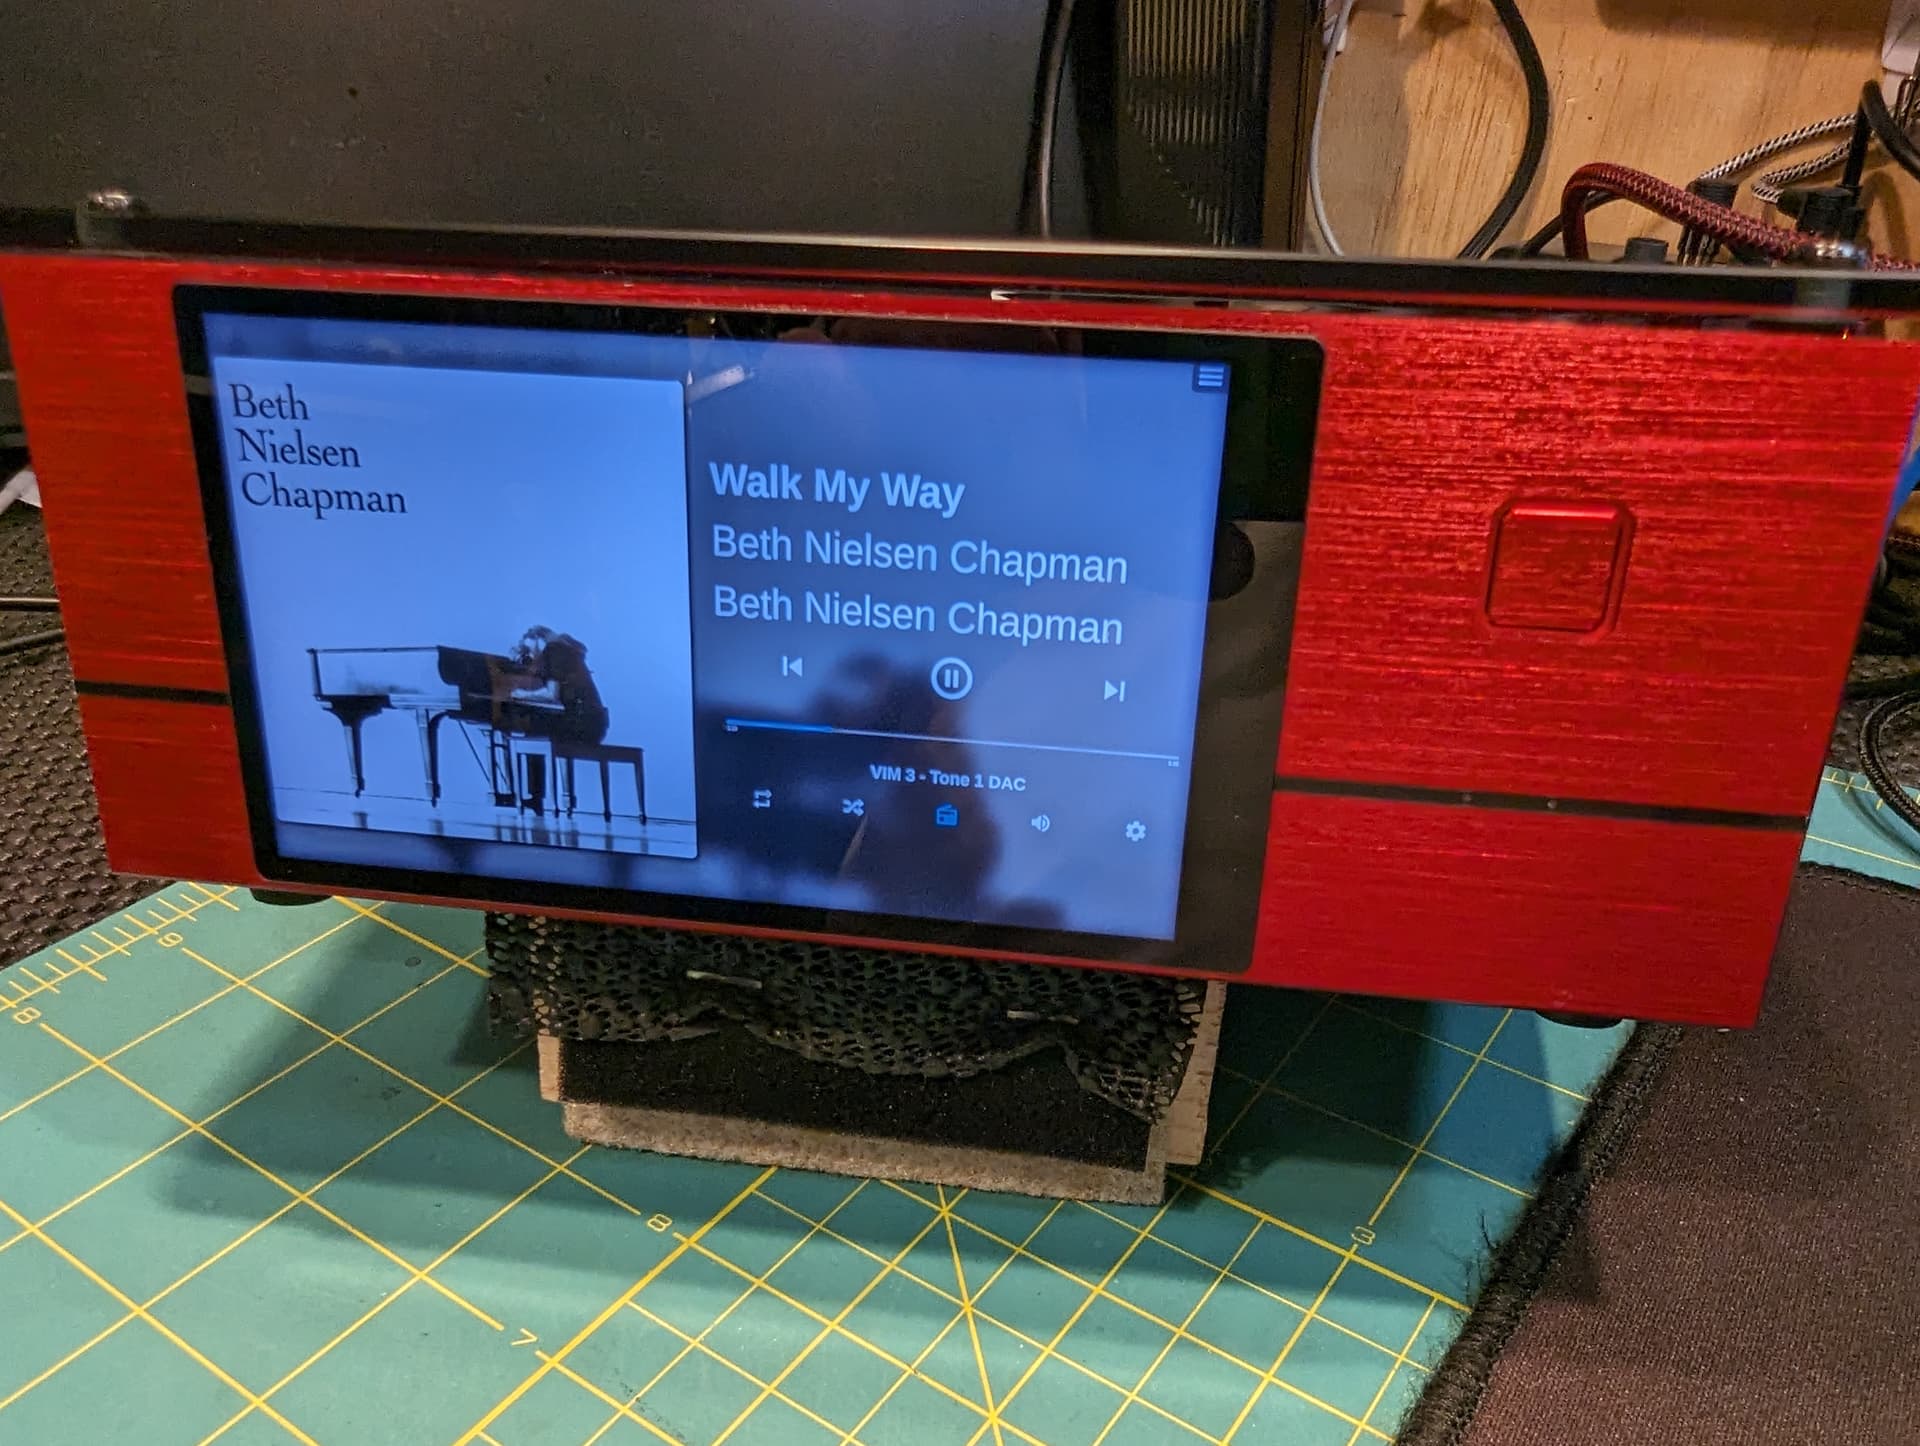
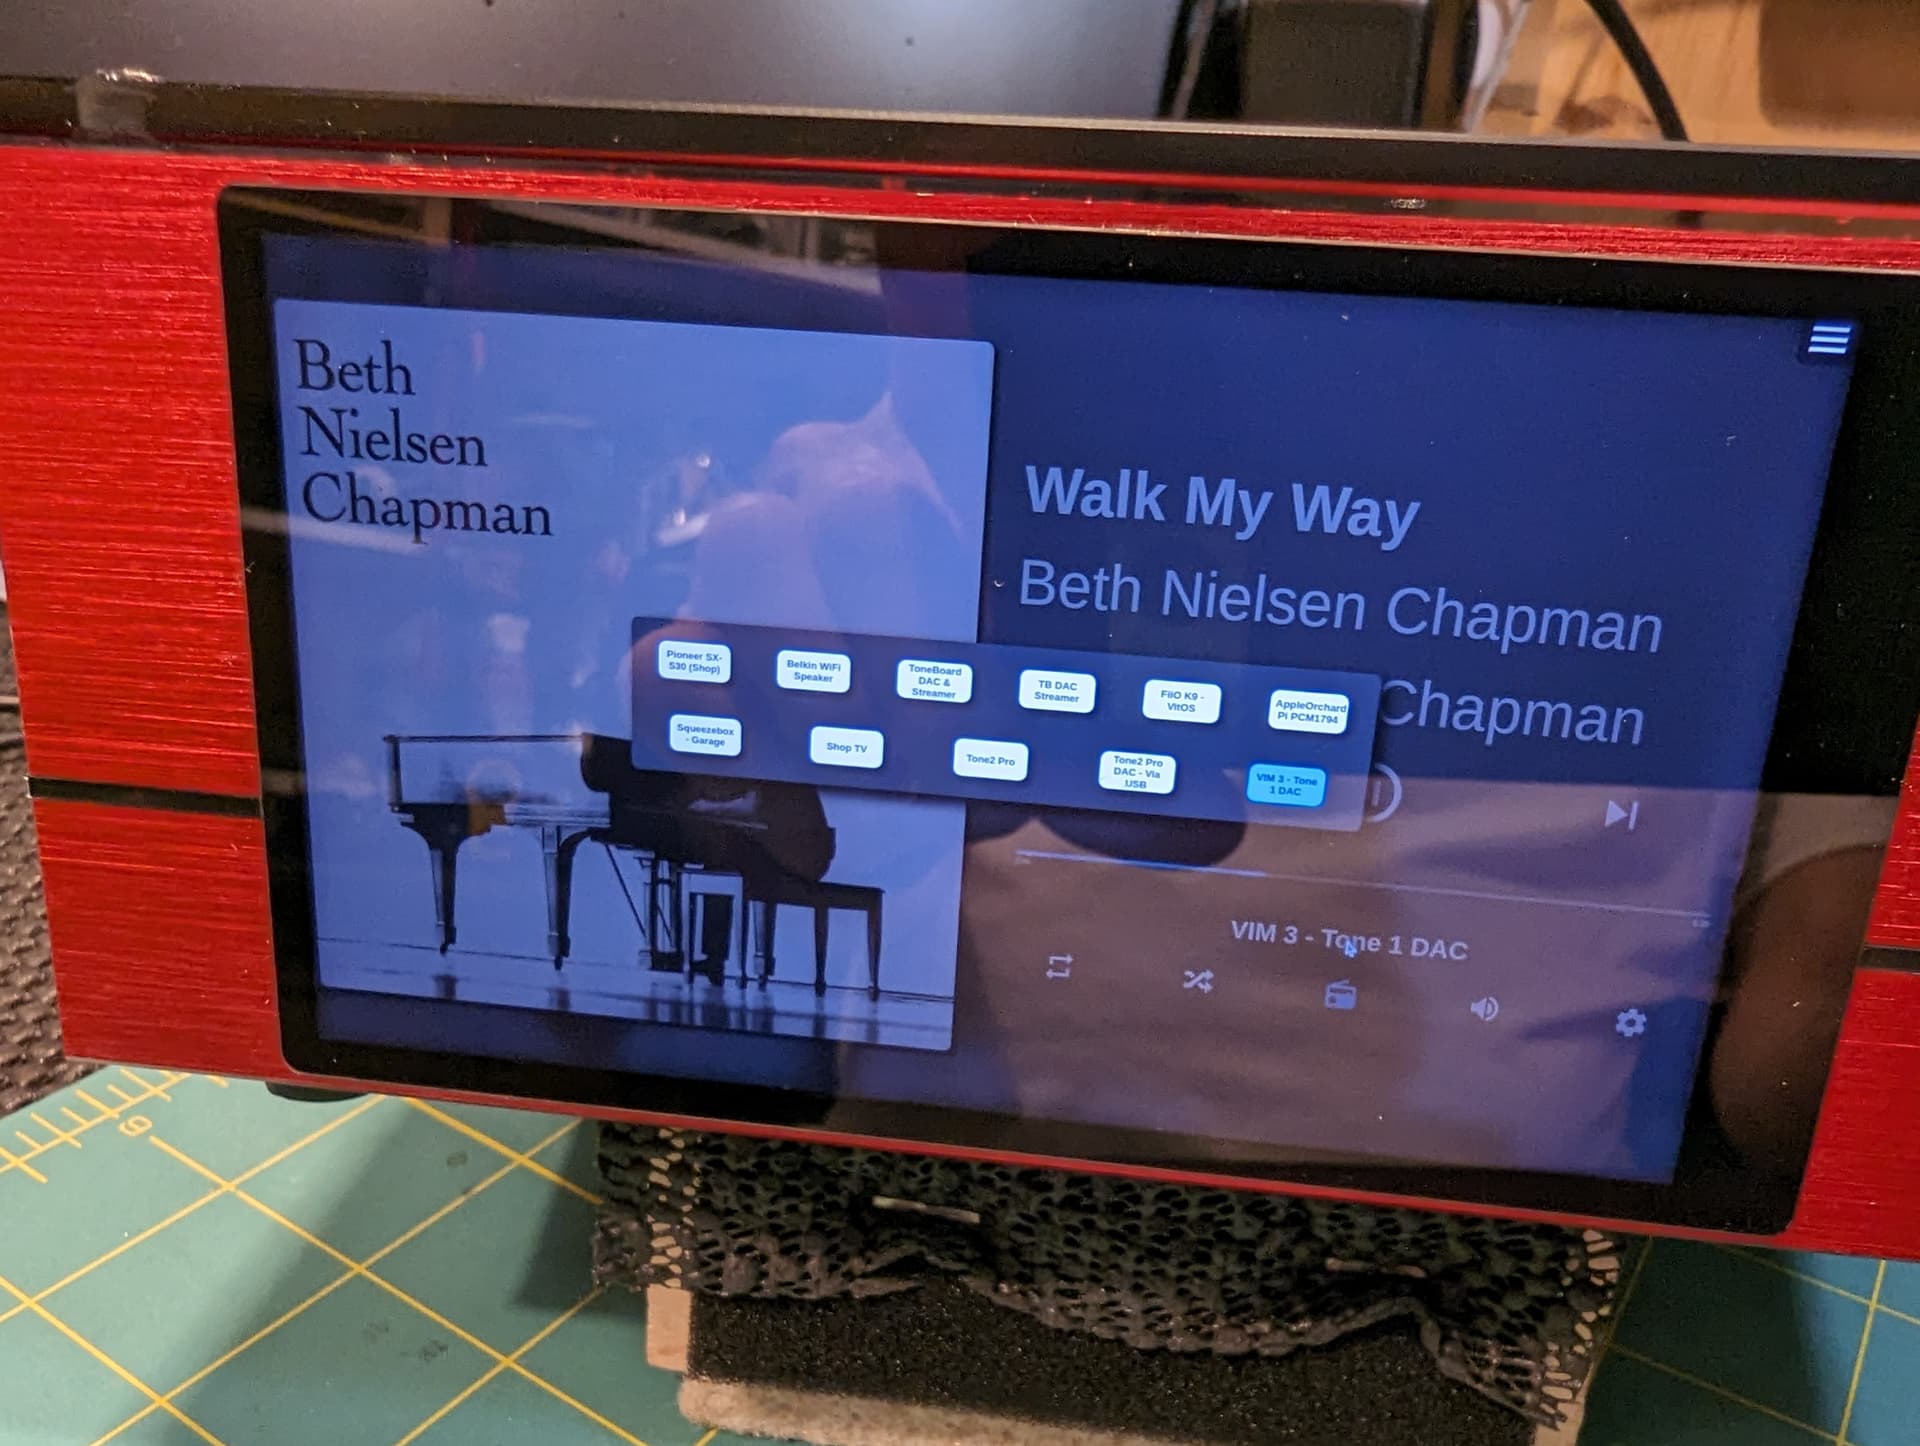
For the roon UI I decided to use the Roon Web Controller(RWC). This takes advantage of the roon extension feature. The RWC is the work of member Mike Plugge. More information on the RWC can be found on his github. The RWC is a simplistic approach to the basic transport facilities in a clean, user interface - that is accessible from any web browser. For my first attempt at using the RWC, my son and I started with version 1.2.13. However, there is a newer release, version 2.0 that offers a host of new features. That’s my next challenge. ![]() Of course, you need to be using roon-bridge available from roon as the ‘bridge’ between roon, and whatever hardware you are using at your endpoint.
Of course, you need to be using roon-bridge available from roon as the ‘bridge’ between roon, and whatever hardware you are using at your endpoint.
Here are a few pictures of my build.
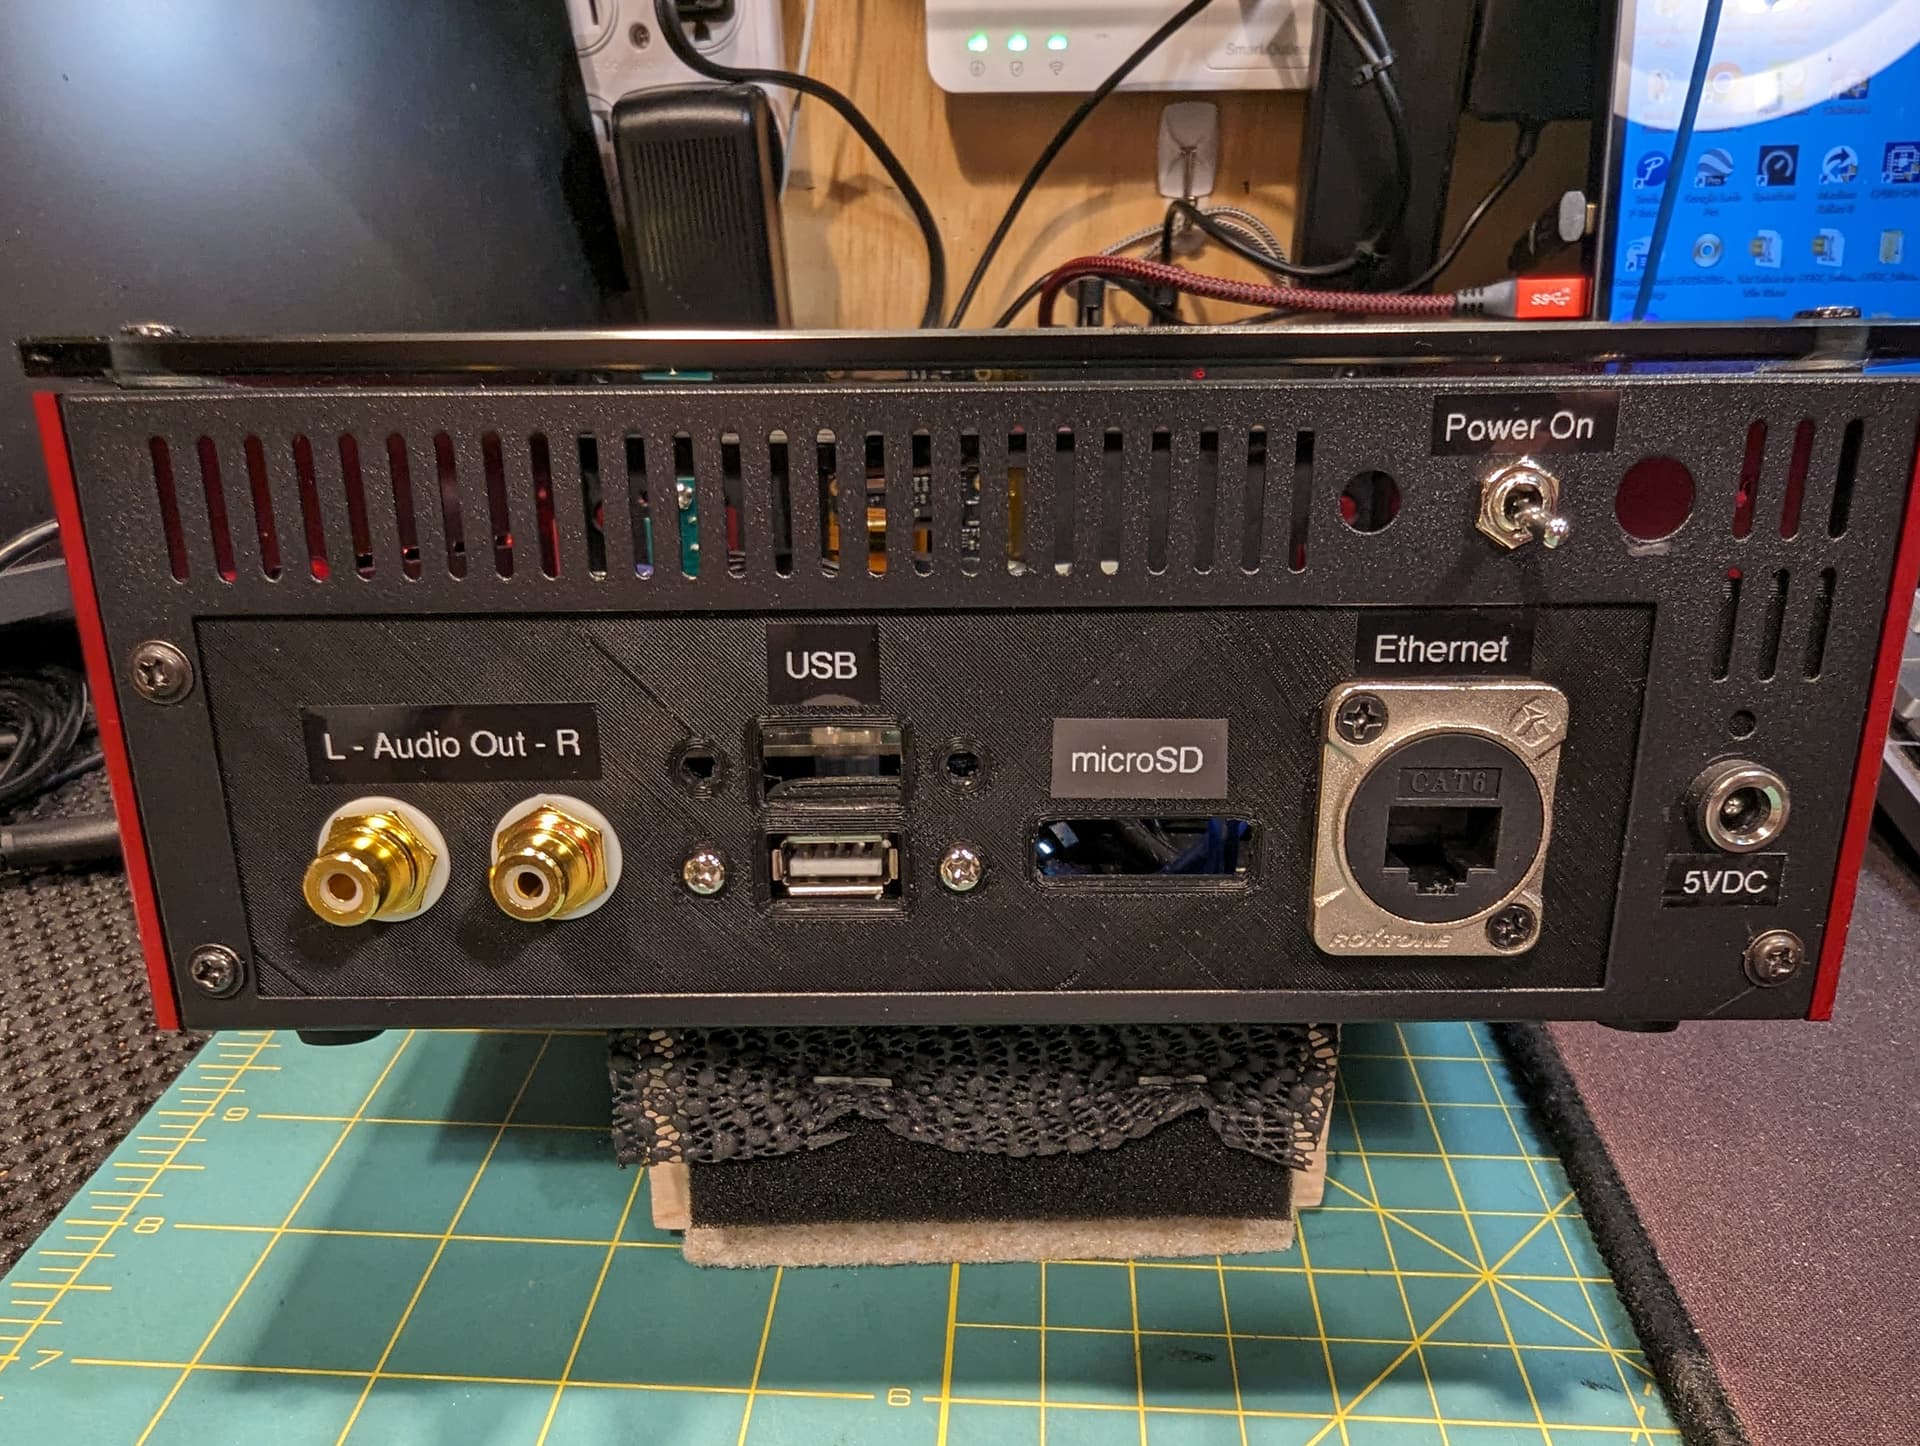
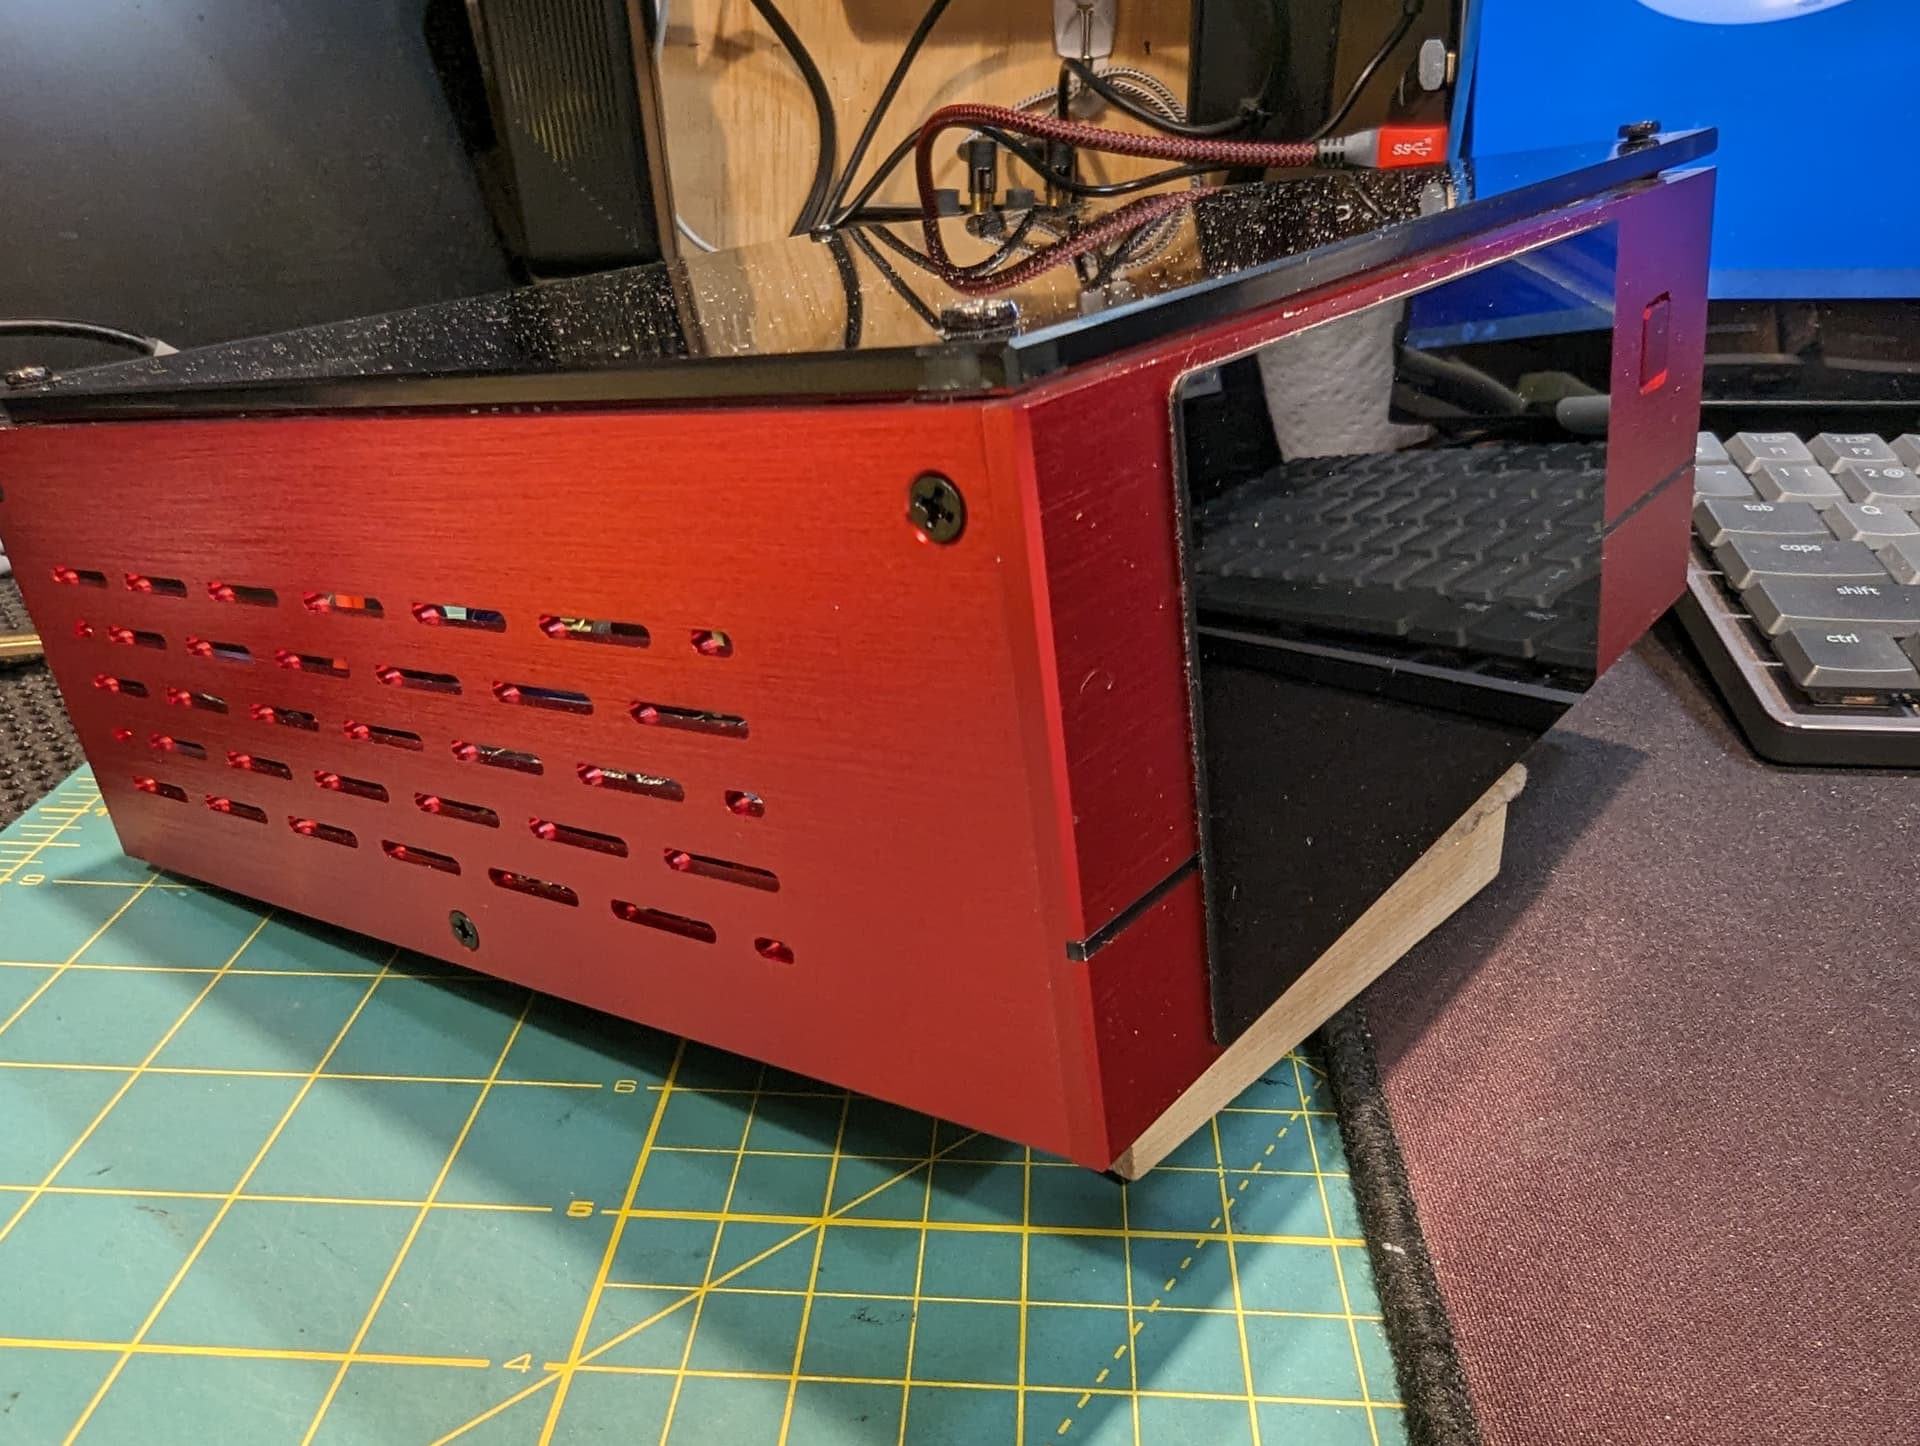
There are still a couple small items, I haven’t finished up yet. The original front panel momentary push-button switch is not operational. I’m waiting for a new, custom low-voltage remote switch that will add ON/OFF control, with the corresponding LED for each state that came built-in with the original A01 case. There are also a couple jack holes on the rear, that are waiting for the applicable fitting.
All in all, I’m happy with the result. It’s small, the screen is gorgeous, and the software works as intended. Oh, did I say it sounds plenty good enough for me. The Tone Board 1 DAC is still an above average DAC - especially for the budget friendly price. I flip the power switch on and a couple minutes later I have a nice, visual, UI that can be completely controlled by the touch screen.